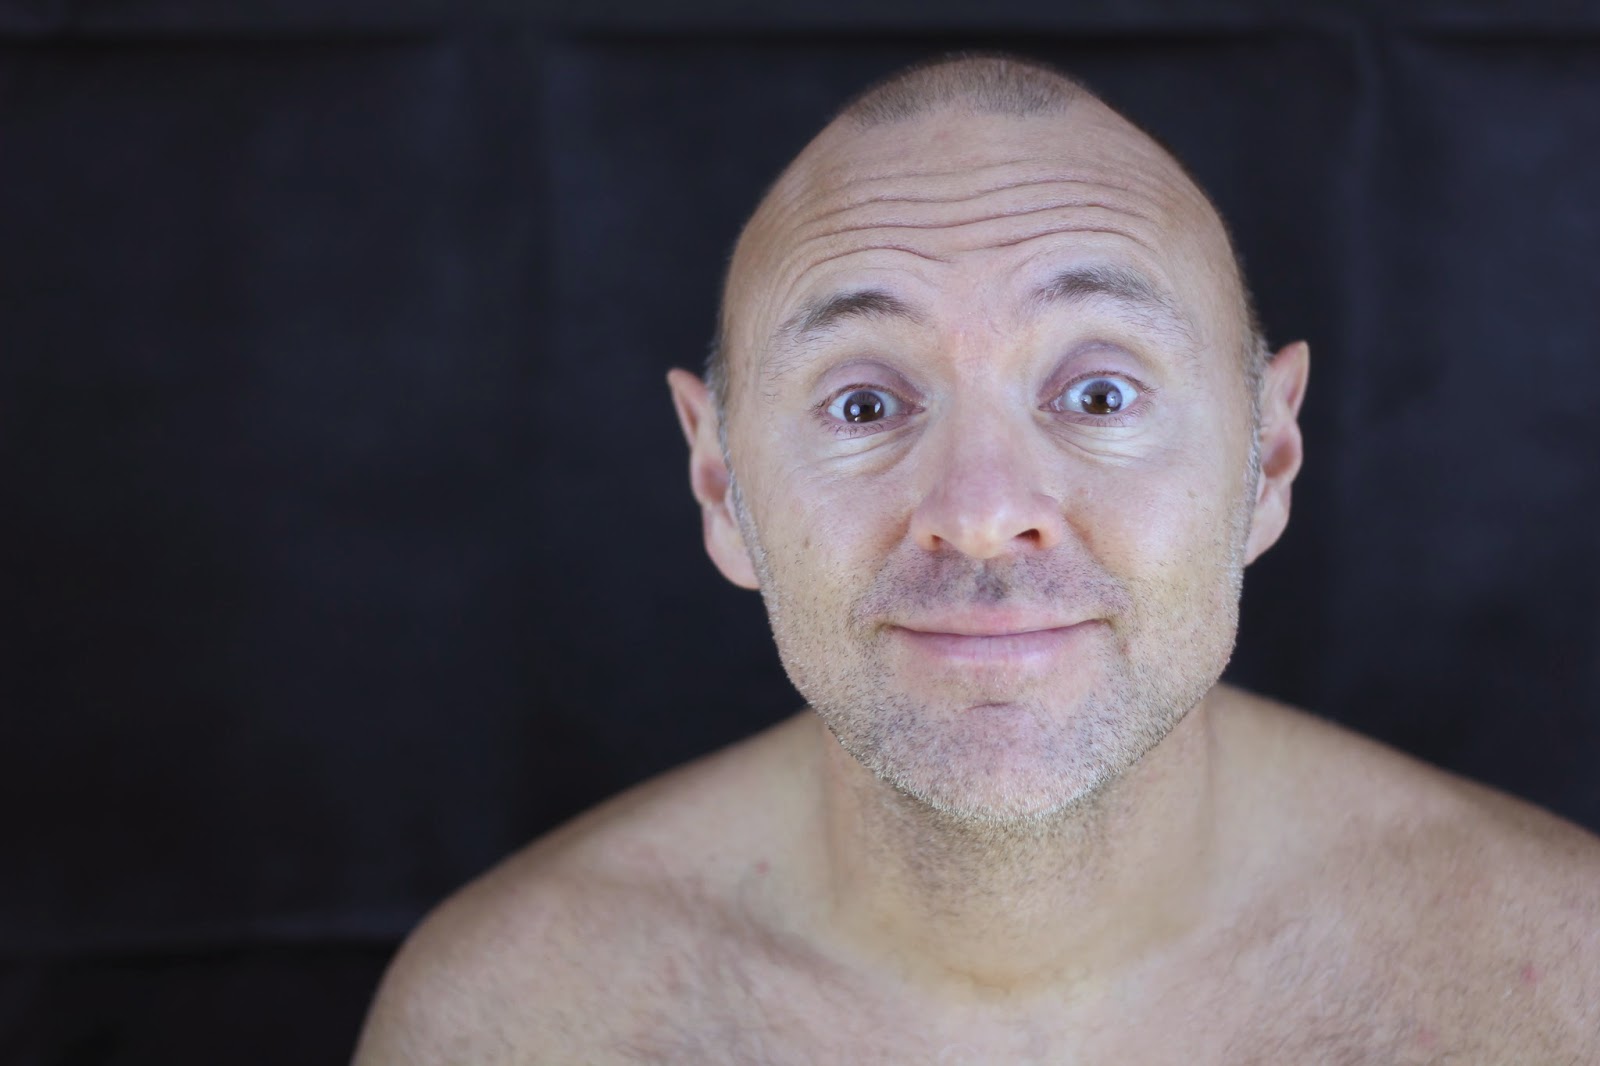
This was originally my final piece and after completing the editing I was happy with it for a while. However, after looking at it and checking it over time and time again I began to realise some areas that were beginning to annoy me a lot. For example, the shoulder on the right of the photo is a lot higher than the right and despite this being the original proportions of the picture, I thought it looked very odd. Secondly: the hair. It was very difficult to merge the two photos but the hair was definitely the most difficult aspect. Trying to make long hair on a hairless head look natural is a lot harder than first expected. After a while I gave in and decided to try and sort things out a little bit.
 To adjust the shoulder, I added a new layer, cut it out, moved it down and then used the clone tool to blacken where the shoulder would have been previously. I then used the blur, sharpen and burn tool to try and remove any unnatural looking areas. With the hair, I decided to add a little bit more so that it fell more naturally instead of simply disappearing. I'm quite pleased with the final result now that I've altered the areas which were getting on my nerves.
and intentions.